The aim of this project is to build a 4 channels relay board, driven by rest API. I will use it as an alternative to my second dead son off 4ch pro R3.
Parts needed :
1 220V / 3.3V dc converter
1 ESP32-S2-Mini
1 relay board
Some dupont wires
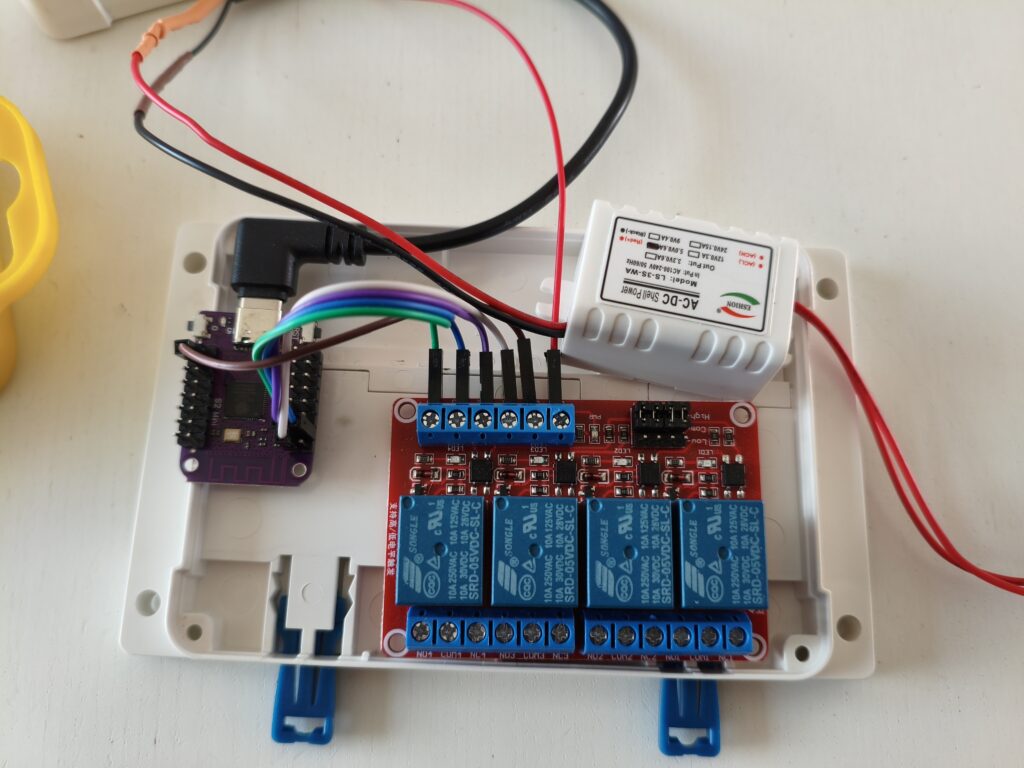
the old sonoff relay board enclosure
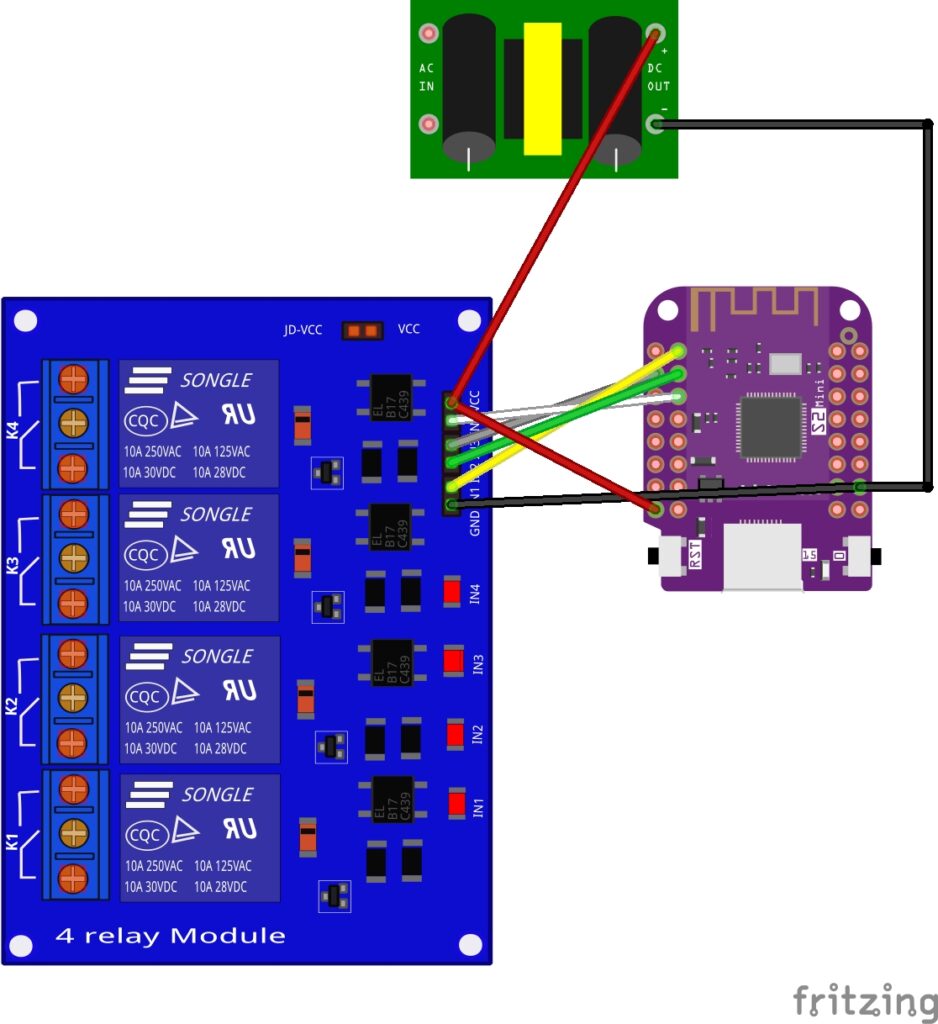
Here is the electronic sketch :
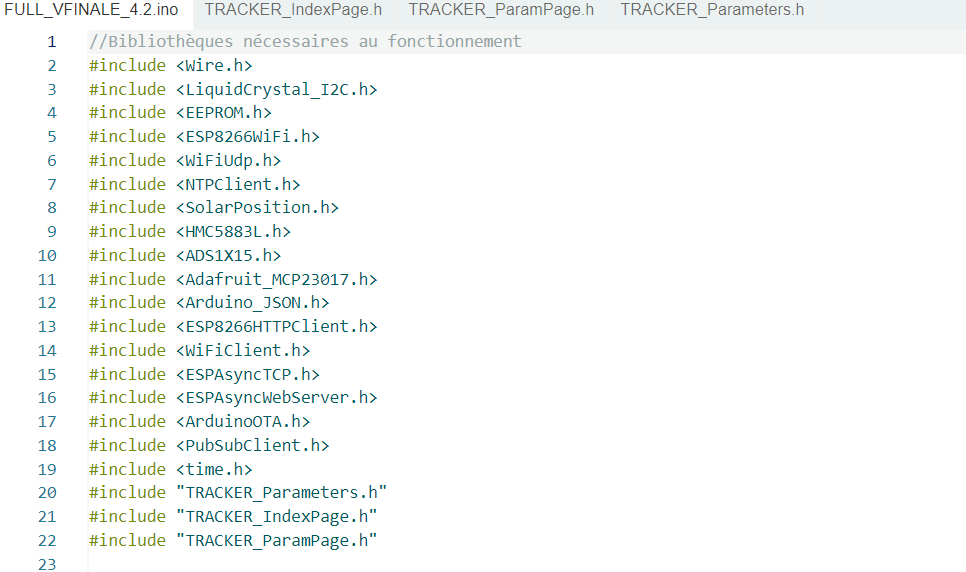
Here is the program done arduino IDE :
#include <Arduino.h>
#include <WebServer.h>
#include <ArduinoJson.h>
#include <WiFiManager.h>
#include <ArduinoOTA.h>

// Serveur Web sur le port 80
WebServer server(80);

StaticJsonDocument<1024> jsonDocument;

char buffer[1024];

//Relais sur 1 / 2 / 3 / 4
const int Relay1_Pin = 1;
const int Relay2_Pin = 2;
const int Relay3_Pin = 3;
const int Relay4_Pin = 4;

//Etat relais
int Relay1_Status = 0;
int Relay2_Status = 0;
int Relay3_Status = 0;
int Relay4_Status = 0;

void handlePost() {
  Serial.println("setValues - Change le statut des relais");

  if (server.hasArg("plain") == false) {
    //handle error here
  }
  String body = server.arg("plain");
  deserializeJson(jsonDocument, body);

  // Get status
  Relay1_Status = jsonDocument["Relay1_Status"];
  Relay2_Status = jsonDocument["Relay2_Status"];
  Relay3_Status = jsonDocument["Relay3_Status"];
  Relay4_Status = jsonDocument["Relay4_Status"];

  // Respond to the client
  server.send(200, "application/json", "{}");
}

void createJson(char *name, float value) {
  jsonDocument.clear();
  jsonDocument[name] = value;
  serializeJson(jsonDocument, buffer);
}

//Convert to boolean state
bool boolStatus(int Relay_Pin){
  if (digitalRead(Relay_Pin)==1) {
    return (true);
  } else {
    return (false);
  }
}

void getStatus() {
  Serial.println("getValues - Recupère le statut des relais");
  jsonDocument.clear(); // Clear json buffer
  jsonDocument["Relay1_Status"] = boolStatus(Relay1_Pin);
  jsonDocument["Relay2_Status"] = boolStatus(Relay2_Pin);
  jsonDocument["Relay3_Status"] = boolStatus(Relay3_Pin);
  jsonDocument["Relay4_Status"] = boolStatus(Relay4_Pin);

  serializeJson(jsonDocument, buffer);
  server.send(200, "application/json", buffer);
}

void setupApi() {
  server.on("/getStatus", getStatus);
  server.on("/setStatus", HTTP_POST, handlePost);

  // start server
  server.begin();
}

void setup() {


    //Initialisation communication port serie
    Serial.begin(115200);
    delay(1500);

    //Mode wifi station
    WiFi.mode(WIFI_STA);

    //Gestionnaire de la connexion Wifi
    WiFiManager wm;

    // reset settings - wipe stored credentials for testing
    // these are stored by the esp library
    // wm.resetSettings();

    // Se connecte automatiquement avec les paramètres enregistrés
    // Si échoue crée un point d'accès avec SSID ( "AutoConnectAP"),
    // Si vide va autogénérer le SSID, si le mot de passe enregistré est vide le point d'accès est sans mot de passe (wm.autoConnect())
    // Et tourne en attendant la configuration jusqu'à la sauvegarde de celle-ci

    bool res;
    // res = wm.autoConnect(); // auto generated AP name from chipid
    // res = wm.autoConnect("AutoConnectAP"); // anonymous ap
    res = wm.autoConnect("Relay_Board_AP","password"); // password protected ap

    if(!res) {
      Serial.println("WifiManager - Connexion echouee");
      ESP.restart();
    }
    else {
      //if you get here you have connected to the WiFi
      Serial.println("WifiManager - Connexion etablie");
    }

    setupApi();

    //Initialisation des sorties de l'ESP
    pinMode(Relay1_Pin, OUTPUT);
    pinMode(Relay2_Pin, OUTPUT);
    pinMode(Relay3_Pin, OUTPUT);
    pinMode(Relay4_Pin, OUTPUT);

    //Initialisation MAJ Arduino via OTA
    Serial.println("OTA - Initialisation OTA");
    ArduinoOTA.setHostname("RELAY_BOARD");
    ArduinoOTA.setPassword("AChoosenPassword");
    ArduinoOTA.begin();  //Mandatory
    ArduinoOTA.onStart([]() {
      Serial.println("OTA - Démarrage");
    });
    ArduinoOTA.onEnd([]() {
      Serial.println("\nEnd");
    });
    ArduinoOTA.onProgress([](unsigned int progress, unsigned int total) {
      Serial.printf("OTA - Progression: %u%%\r", (progress / (total / 100)));
    });
    ArduinoOTA.onError([](ota_error_t error) {
      Serial.printf("Error[%u]: ", error);
      if (error == OTA_AUTH_ERROR) Serial.println("OTA - Authentification échouée");
      else if (error == OTA_BEGIN_ERROR) Serial.println("OTA - Demarrage échoué");
      else if (error == OTA_CONNECT_ERROR) Serial.println("OTA - Connection échouée");
      else if (error == OTA_RECEIVE_ERROR) Serial.println("OTA - Réception échouée");
      else if (error == OTA_END_ERROR) Serial.println("OTA - Finalisation échouée");
    });
    ArduinoOTA.begin();
    Serial.println("OTA - Prêt");
    Serial.print("OTA - Adresse IP : ");
    Serial.println(WiFi.localIP());

}

void loop() {
   // put your main code here, to run repeatedly:
   server.handleClient();

   //Active les relais en fonction de la demande
   if(Relay1_Status==1) {
     digitalWrite(Relay1_Pin, HIGH);
   } else if(Relay1_Status==2) {
     digitalWrite(Relay1_Pin, LOW);
   }

   if(Relay2_Status==1) {
     digitalWrite(Relay2_Pin, HIGH);
   } else if(Relay2_Status==2) {
     digitalWrite(Relay2_Pin, LOW);
   }

   if(Relay3_Status==1) {
     digitalWrite(Relay3_Pin, HIGH);
   } else if(Relay3_Status==2) {
     digitalWrite(Relay3_Pin, LOW);
   }

   if(Relay4_Status==1) {
     digitalWrite(Relay4_Pin, HIGH);
   } else if(Relay4_Status==2) {
     digitalWrite(Relay4_Pin, LOW);
   }

}
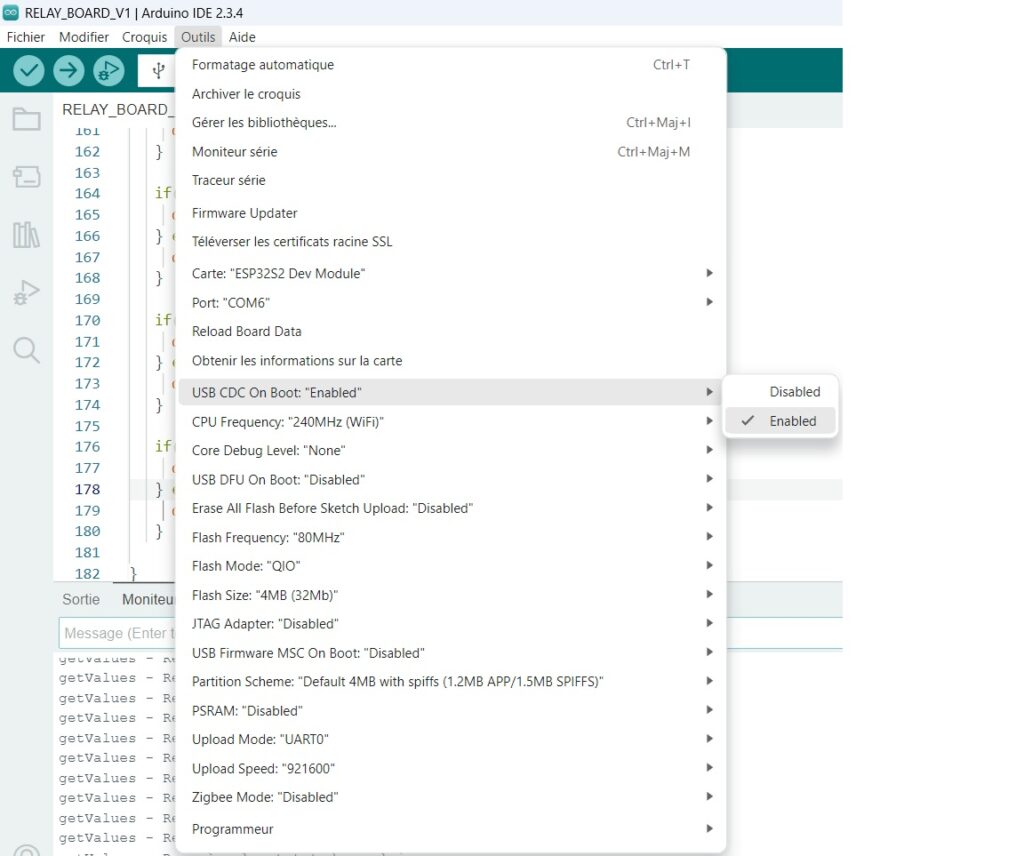
Be aware that for compilation you will need to change one setting to allow serial debug :
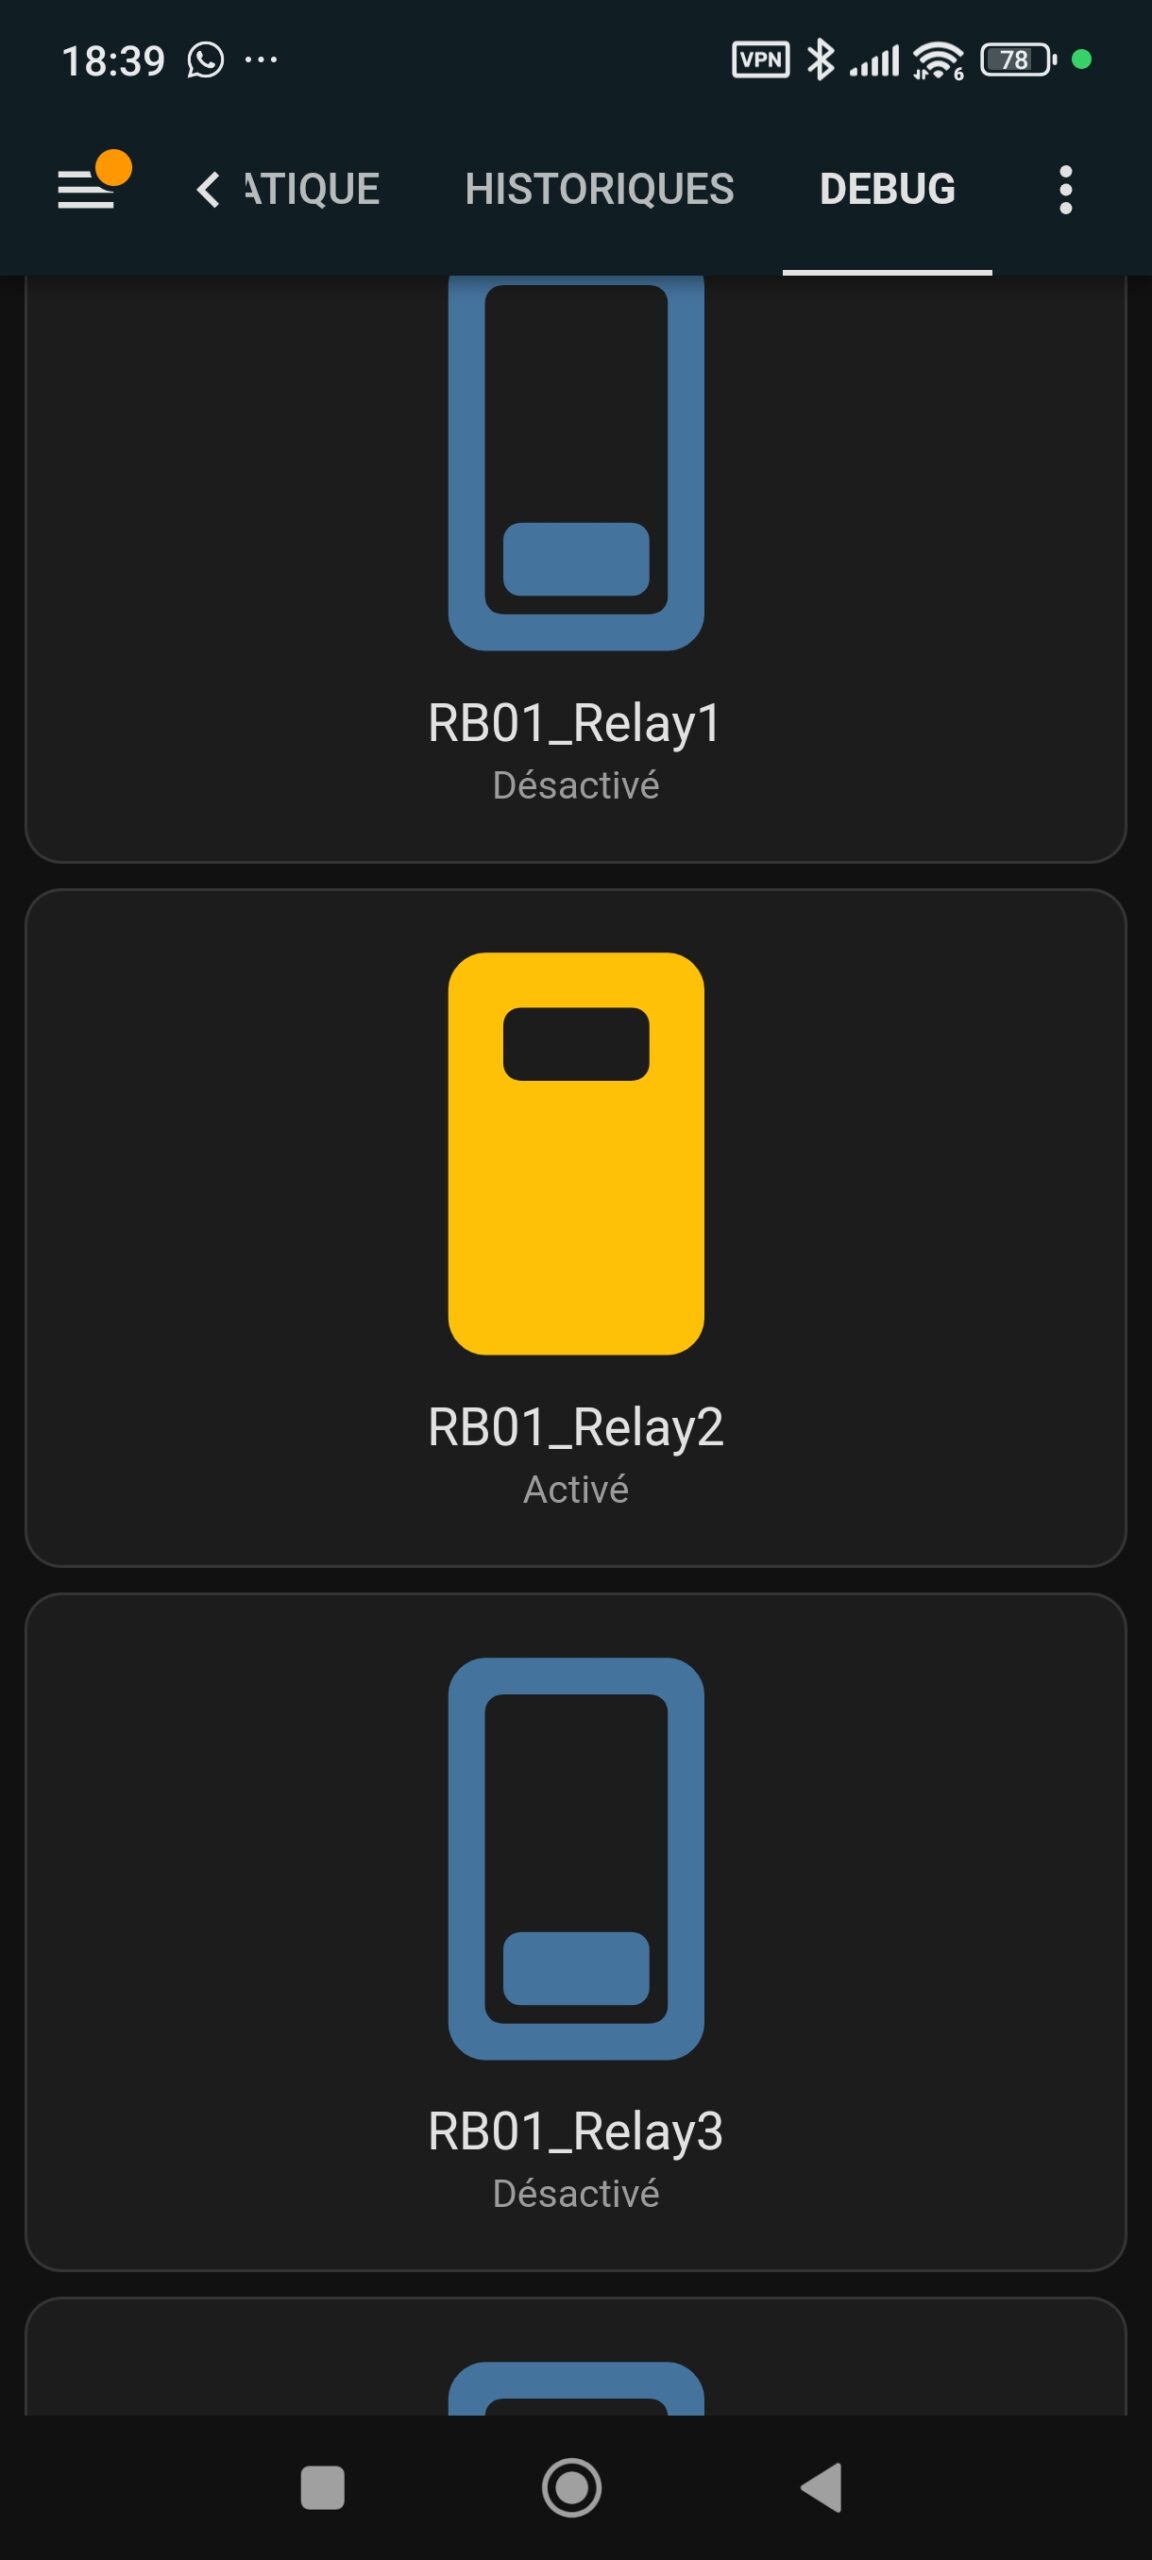
Here is the yaml part for button needed for home assistant (You will have to set an ip address reservation for your relay board, here 192.168.2.225 in the code) :
show_name: true
show_icon: true
type: button
tap_action:
  action: toggle
entity: switch.rb01_relay2
show_state: true
Here is the main config part for home assistant :
switch
- platform: rest
resource: "http://192.168.2.225/setStatus"
name: "RB01_Relay1"
unique_id: "switch.rb01_relay1"
method: post
body_on: '{"Relay1_Status": "1"}'
body_off: '{"Relay1_Status": "2"}'
state_resource: "http://192.168.2.225/getStatus"
is_on_template: "{{ value_json['Relay1_Status'] }}"
headers:
content_type: "application/json; charset=utf-8"
- platform: rest
resource: "http://192.168.2.225/setStatus"
name: "RB01_Relay2"
unique_id: "switch.rb01_relay2"
method: post
body_on: '{"Relay2_Status": "1"}'
body_off: '{"Relay2_Status": "2"}'
state_resource: "http://192.168.2.225/getStatus"
is_on_template: "{{ value_json['Relay2_Status'] }}"
headers:
content_type: "application/json; charset=utf-8"
- platform: rest
resource: "http://192.168.2.225/setStatus"
name: "RB01_Relay3"
unique_id: "switch.rb01_relay3"
method: post
body_on: '{"Relay3_Status": "1"}'
body_off: '{"Relay3_Status": "2"}'
state_resource: "http://192.168.2.225/getStatus"
is_on_template: "{{ value_json['Relay3_Status'] }}"
headers:
content_type: "application/json; charset=utf-8"
- platform: rest
resource: "http://192.168.2.225/setStatus"
name: "RB01_Relay4"
unique_id: "switch.rb01_relay4"
method: post
body_on: '{"Relay4_Status": "1"}'
body_off: '{"Relay4_Status": "2"}'
state_resource: "http://192.168.2.225/getStatus"
is_on_template: "{{ value_json['Relay4_Status'] }}"
headers:
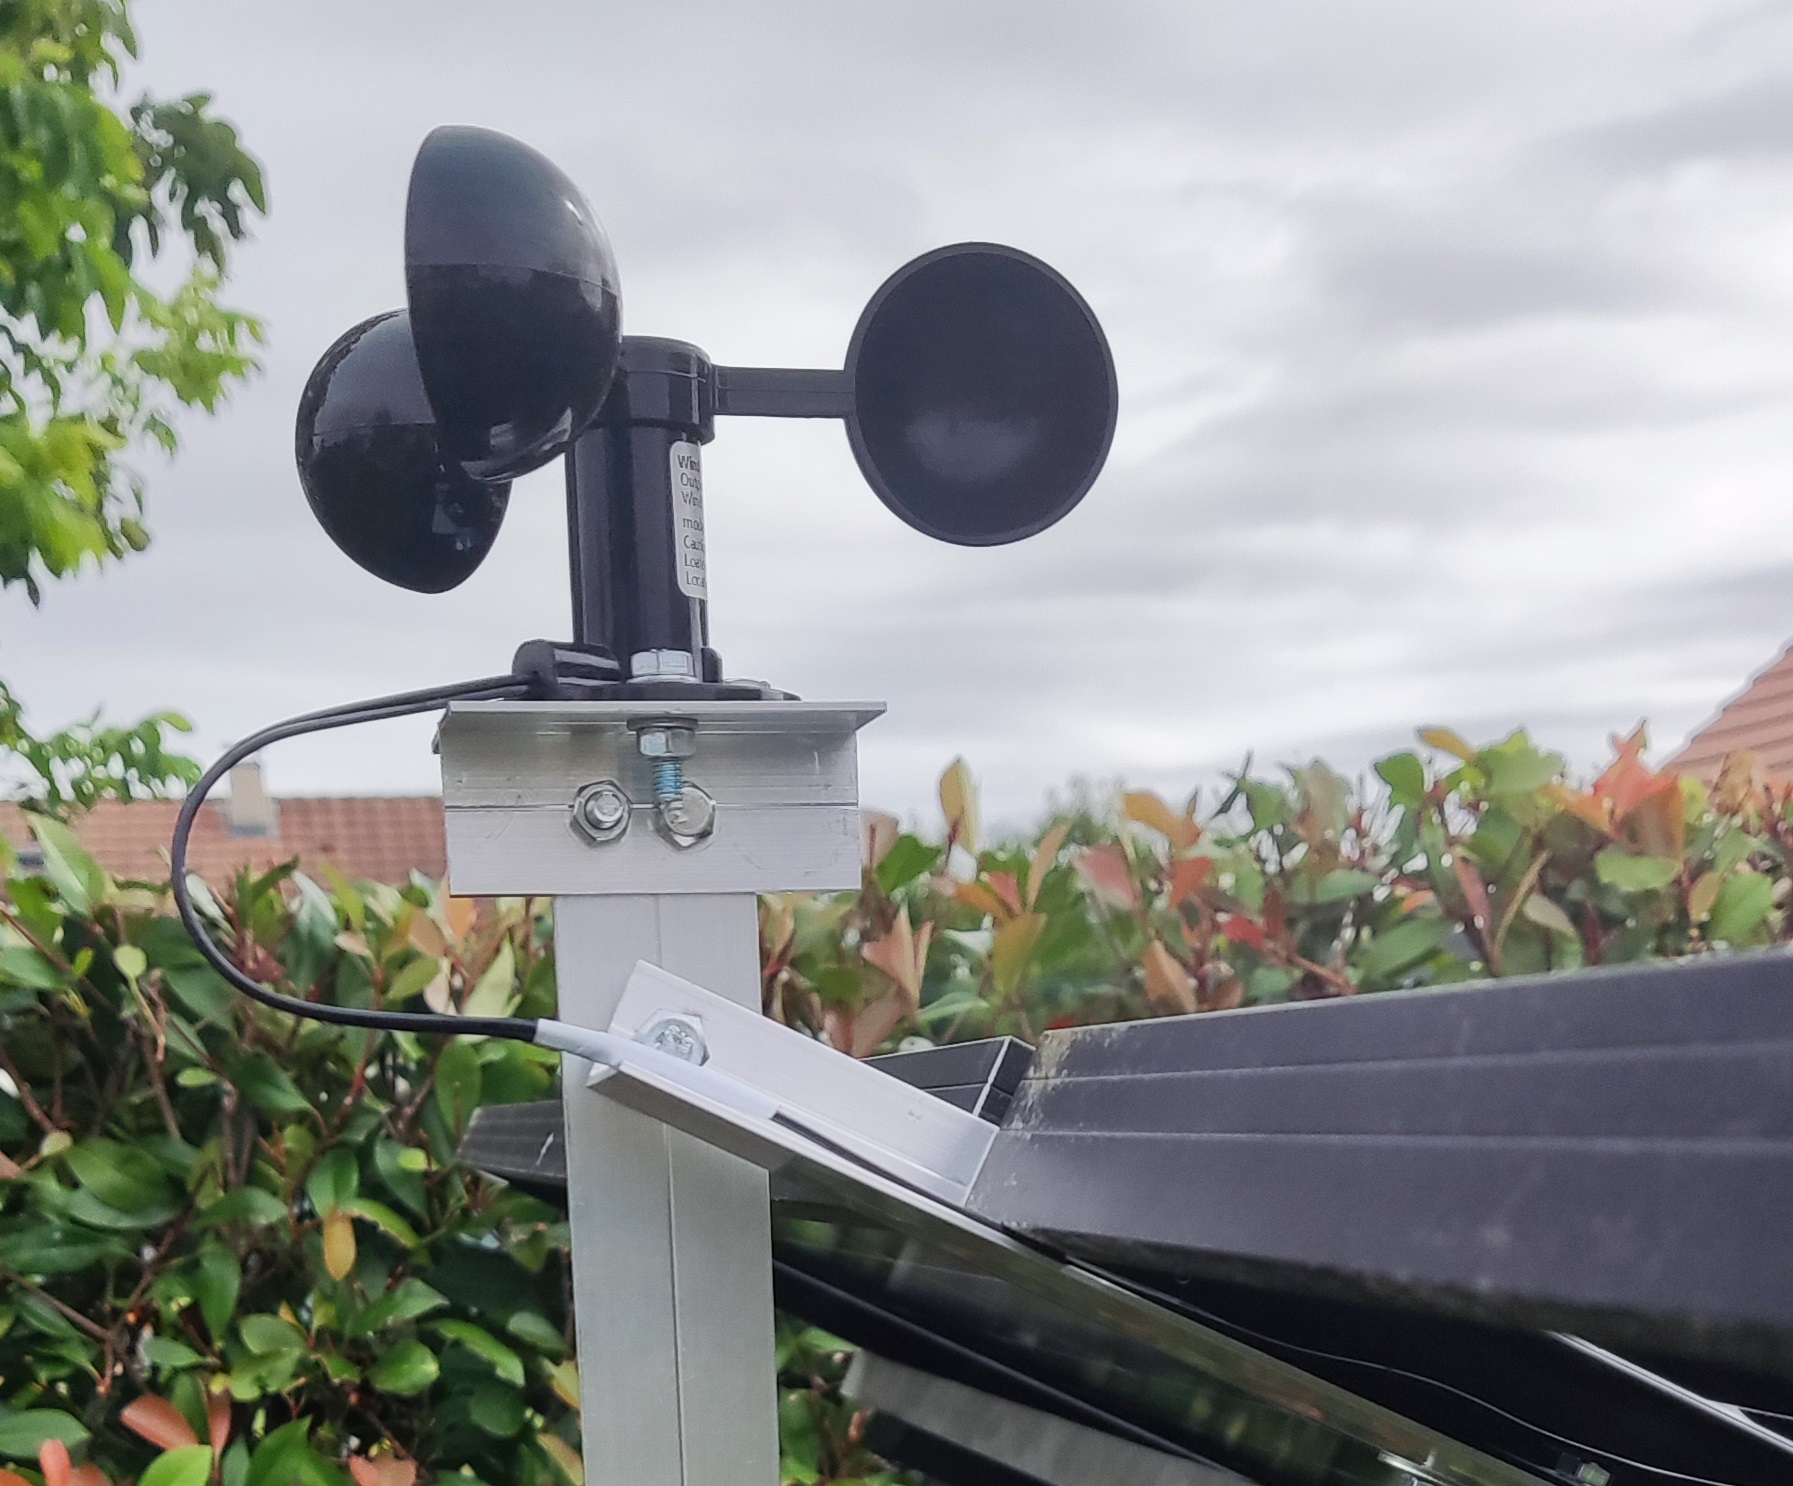
content_type: "application/json; charset=utf-8"The result :
You can test the Rest API commands using Postman :
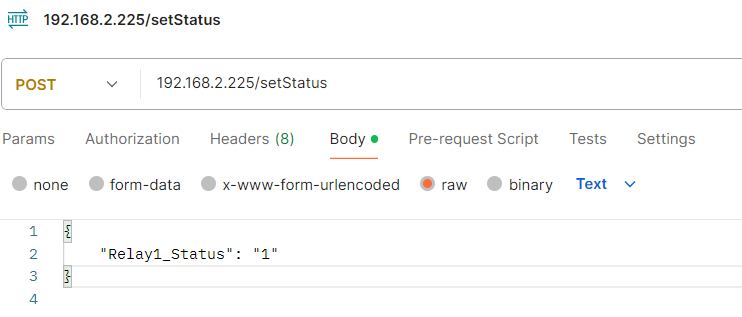
Ou :
192.168.2.225/getStatus


Leave a Reply
You must be logged in to post a comment.